
Your session photographs are meant to be part of your everyday life: a favourite face in the hallway, a family moment above the sofa, or a quiet reminder of this chapter beside your bed. I’m here to help you bring those photographs from your gallery onto your walls, where you can enjoy them every day.
You don’t need to work out the sizes, finishes or arrangement on your own. I can help you choose the photographs that work together, plan a single statement piece or a collection, and find a size that feels right in your home.
Let’s plan a place for your session photographs

Plan a newborn nursery display · Print-order checklist
See the sizes in context
These room mockups use the same photograph and room so you can compare sizes easily. The sofa is treated as 72 inches wide, and each photograph is scaled in proportion to it. All four prints are shown horizontally; the size names are in inches.
8 × 10 inches
A personal accent
A lovely choice for a shelf, desk or a small grouping.
11 × 14 inches
A little more presence
Works well in a smaller wall space or as part of a gallery wall.
16 × 20 inches
Room to enjoy the details
A stronger individual piece for a bedroom, office or favourite corner.
20 × 24 inches
The largest size shown
Gives your photograph more presence while leaving room around it.
A small print, close to everyday life
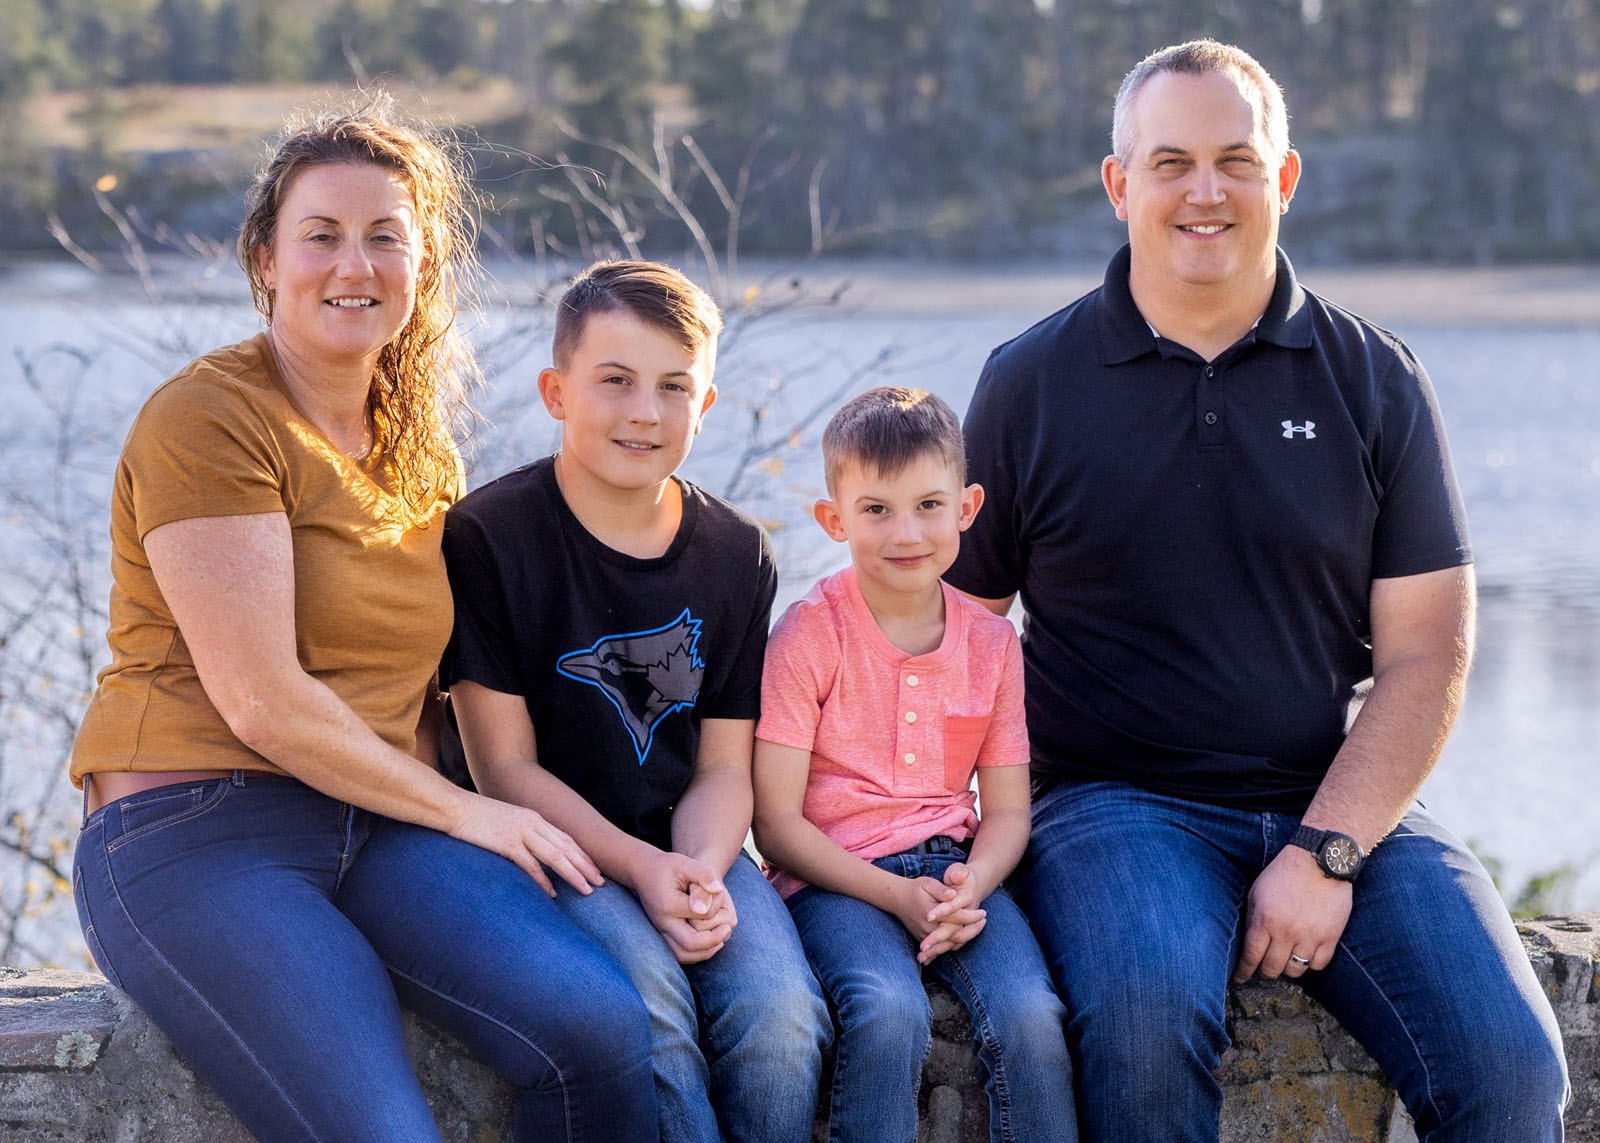
A framed 5 × 7-inch photograph is a lovely way to keep a favourite face beside you on a desk, bedside table or shelf. It suits a close-up portrait or a quiet moment you want to see often, and makes a thoughtful gift for grandparents.
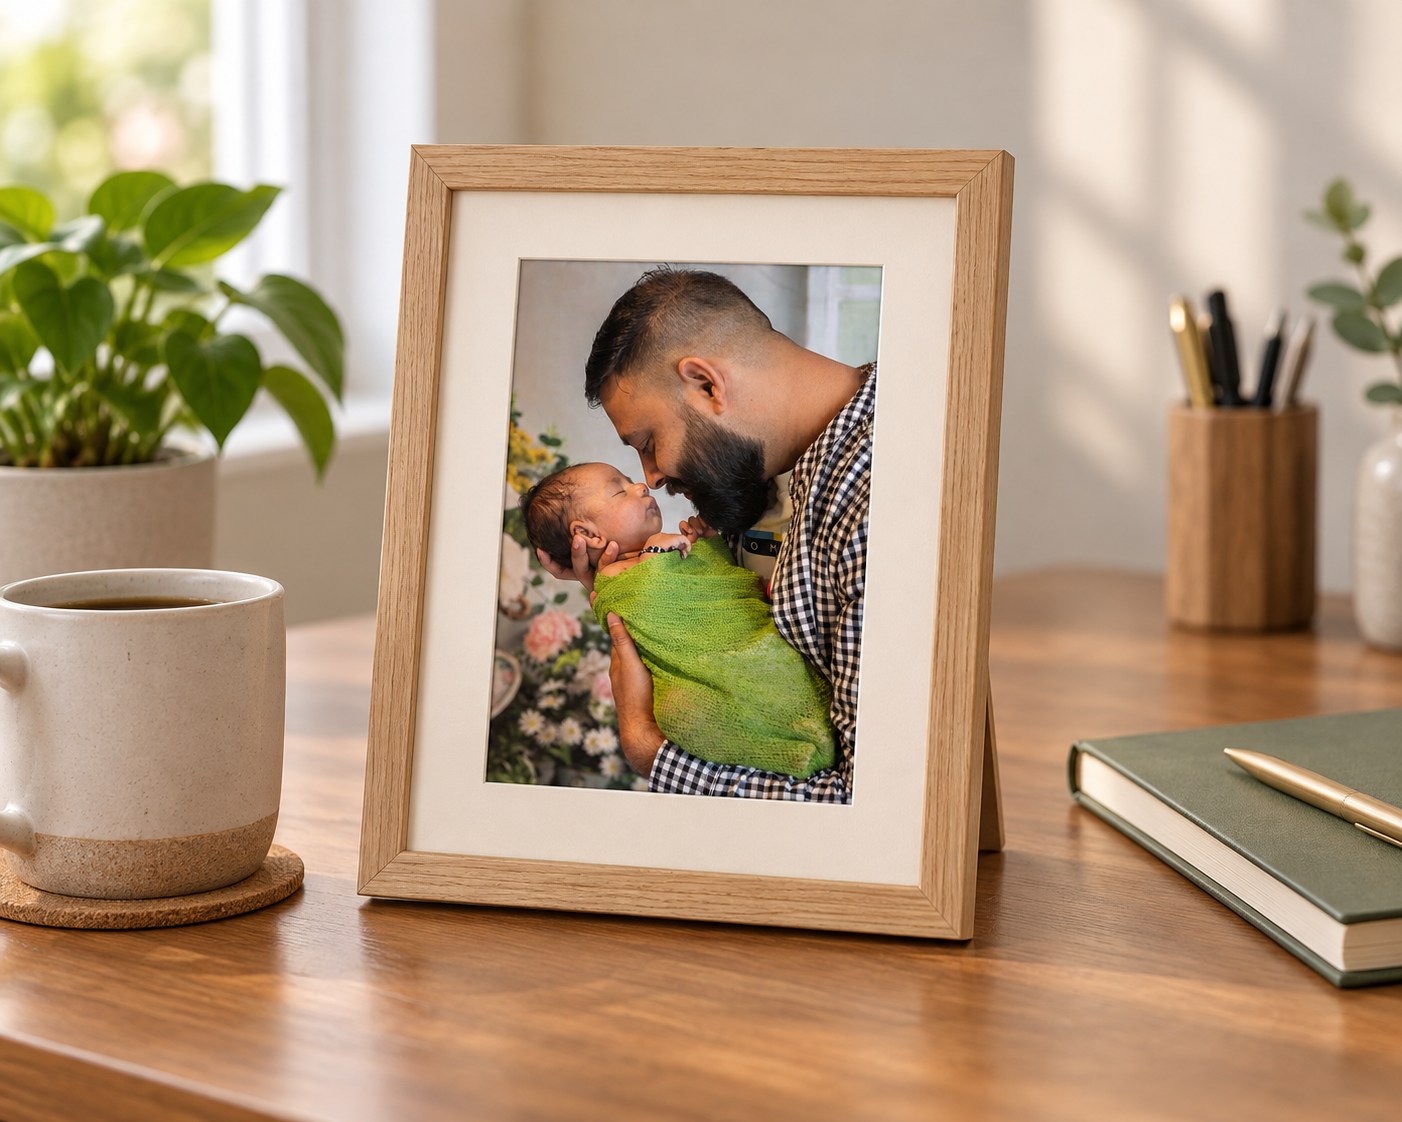
How matting changes the finished size
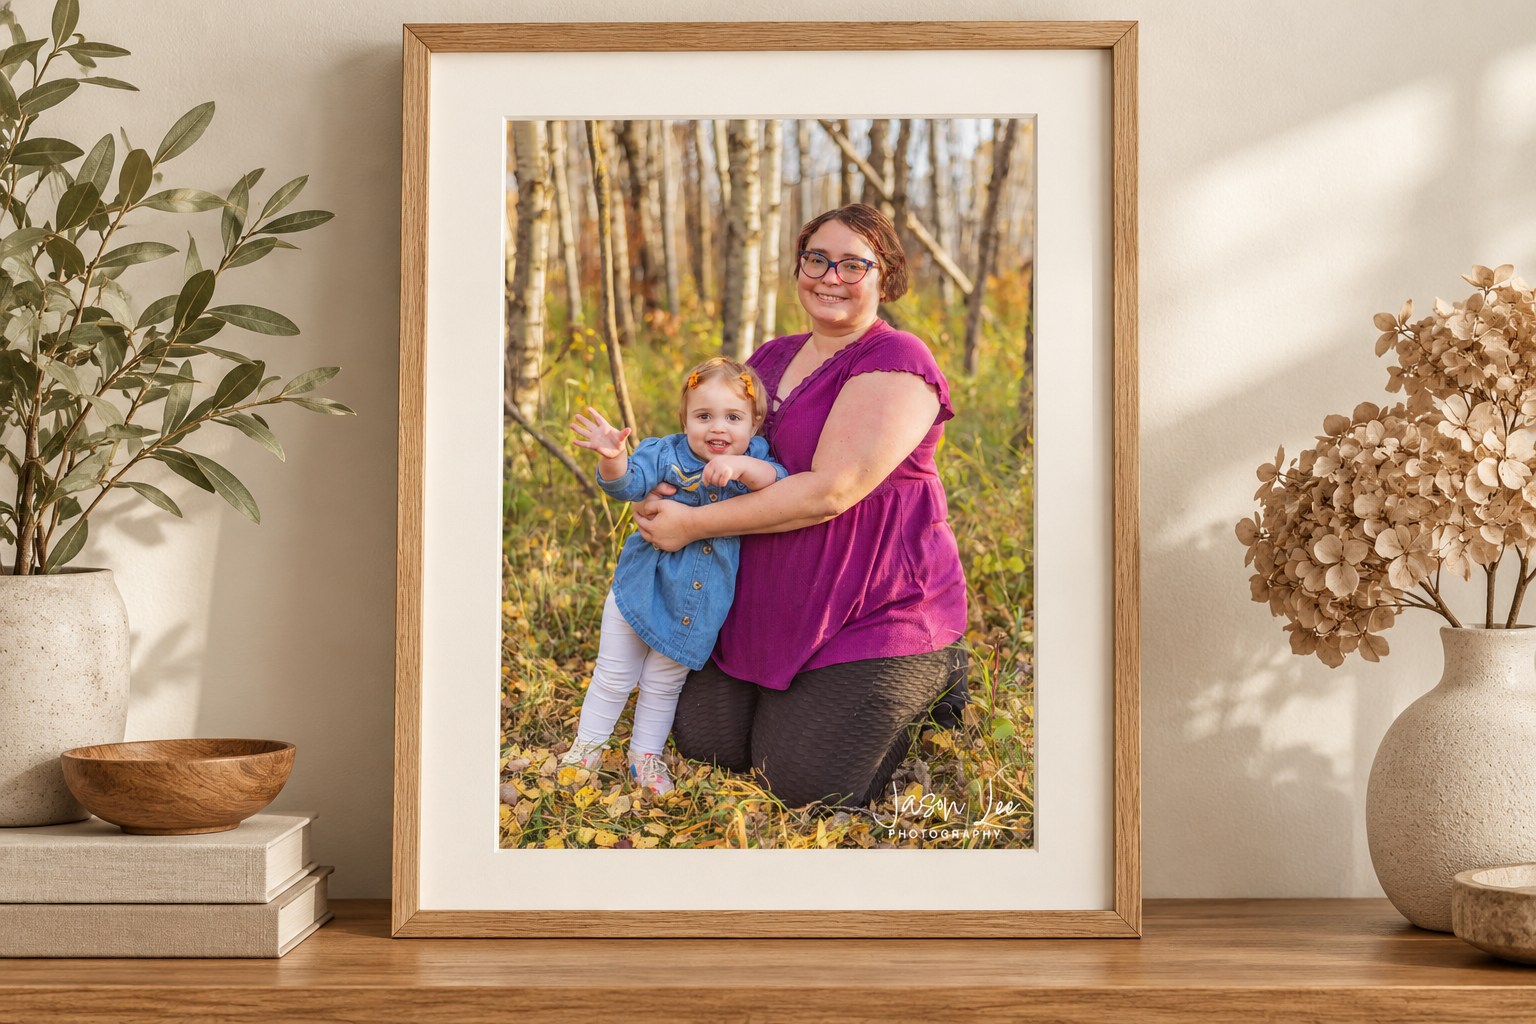
A mat is the border between a paper photograph and its frame. It gives the image breathing room, helps a smaller print feel more substantial, and can bring a collection of different photographs together. With a suitable framing assembly, it also helps keep the photograph away from the glazing.
A soft white or neutral mat is a useful starting point when you want the photograph to be the focus. A wider border creates a quieter, more spacious presentation. For a collection, consistent mat colour and frame finish can make the whole arrangement feel connected.
The sizes in the gallery store refer to the print, not a finished framed piece. Photo Rag prints are supplied unframed unless a framing option is specifically included in your order. Standard custom-framed cotton rag prints are now available from $99, with even mat borders, glass, acid-free matting and backing. See framed sizes and pricing, or contact me for a separately quoted custom framing consultation. Canvas and float-mounted metal prints have their own presentation and do not use a paper mat.
Planning a nursery wall display with your newborn photographs
Your newborn photographs can tell a small story long after those first weeks: a portrait of your baby, the people welcoming them and the tiny details you want to remember. Start with the photographs you enjoy most, then choose a display that suits the room and the way you will see it each day.
One favourite photograph or a small collection?
For a single piece, choose a photograph that holds your attention on its own. A close-up face or a quiet parent-and-baby moment can work beautifully in a reading corner. A wider family portrait may suit a longer wall. The finished frame should fit the space without forcing an awkward crop of the photograph.
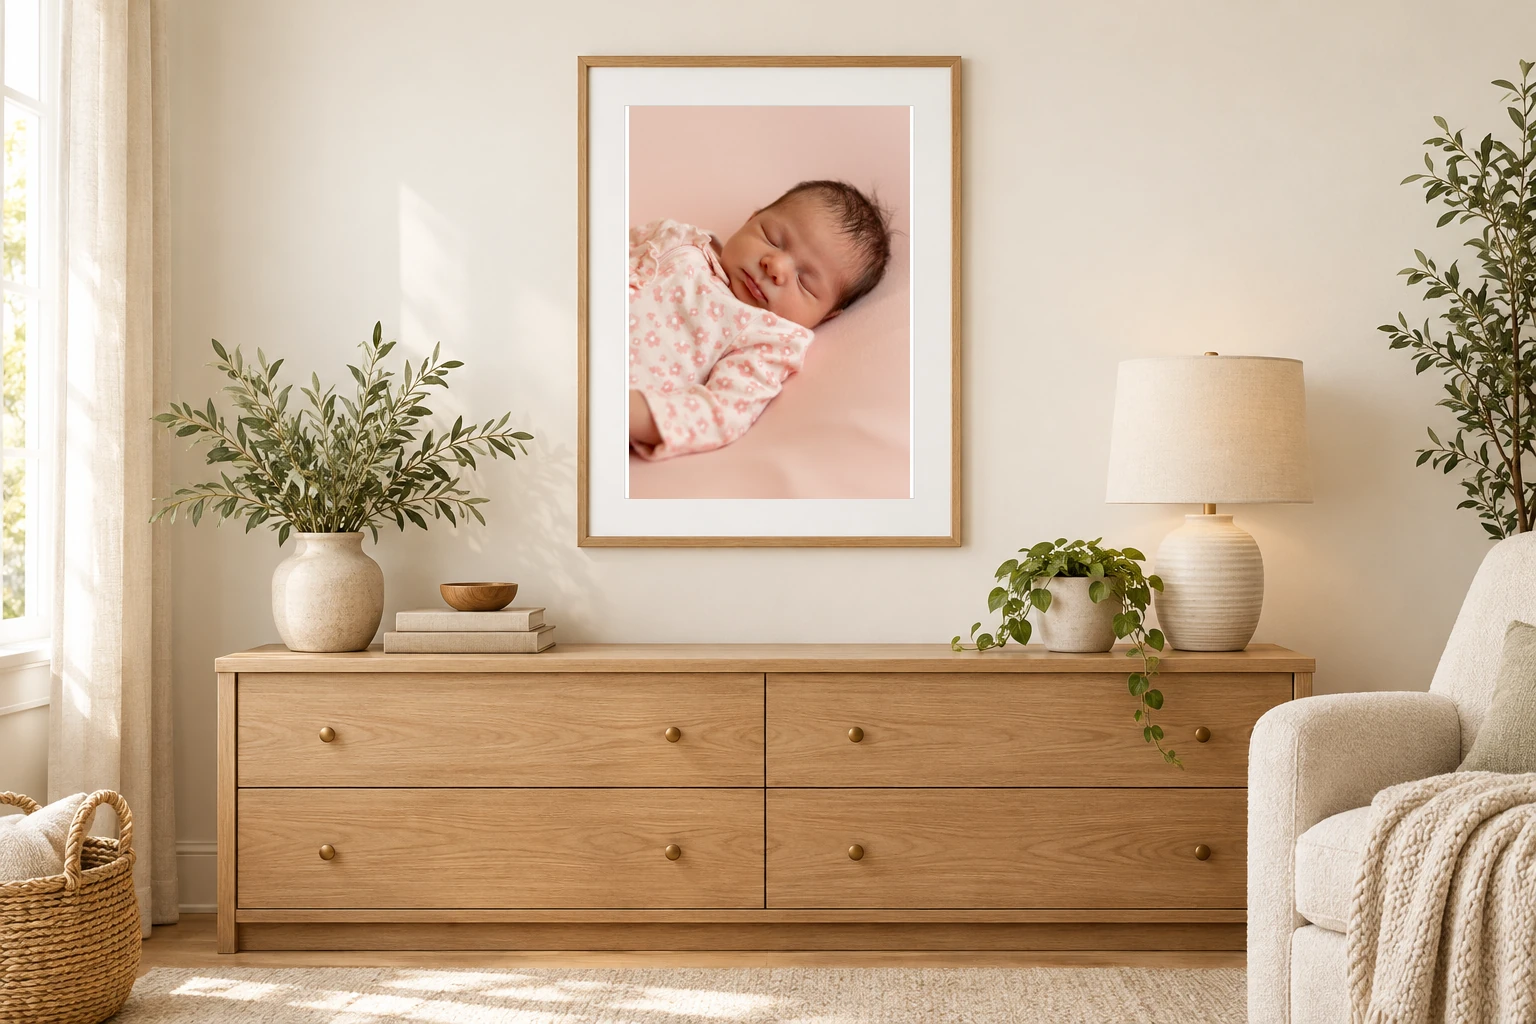
For a pair or trio, give each image a different role. You might combine a full newborn portrait with tiny feet and a closer face detail, as in the example below. Another option is a baby portrait, a parent-and-baby photograph and a sibling or whole-family moment. Choose photographs with a compatible colour palette or consistent black-and-white treatment, rather than three near-identical expressions.
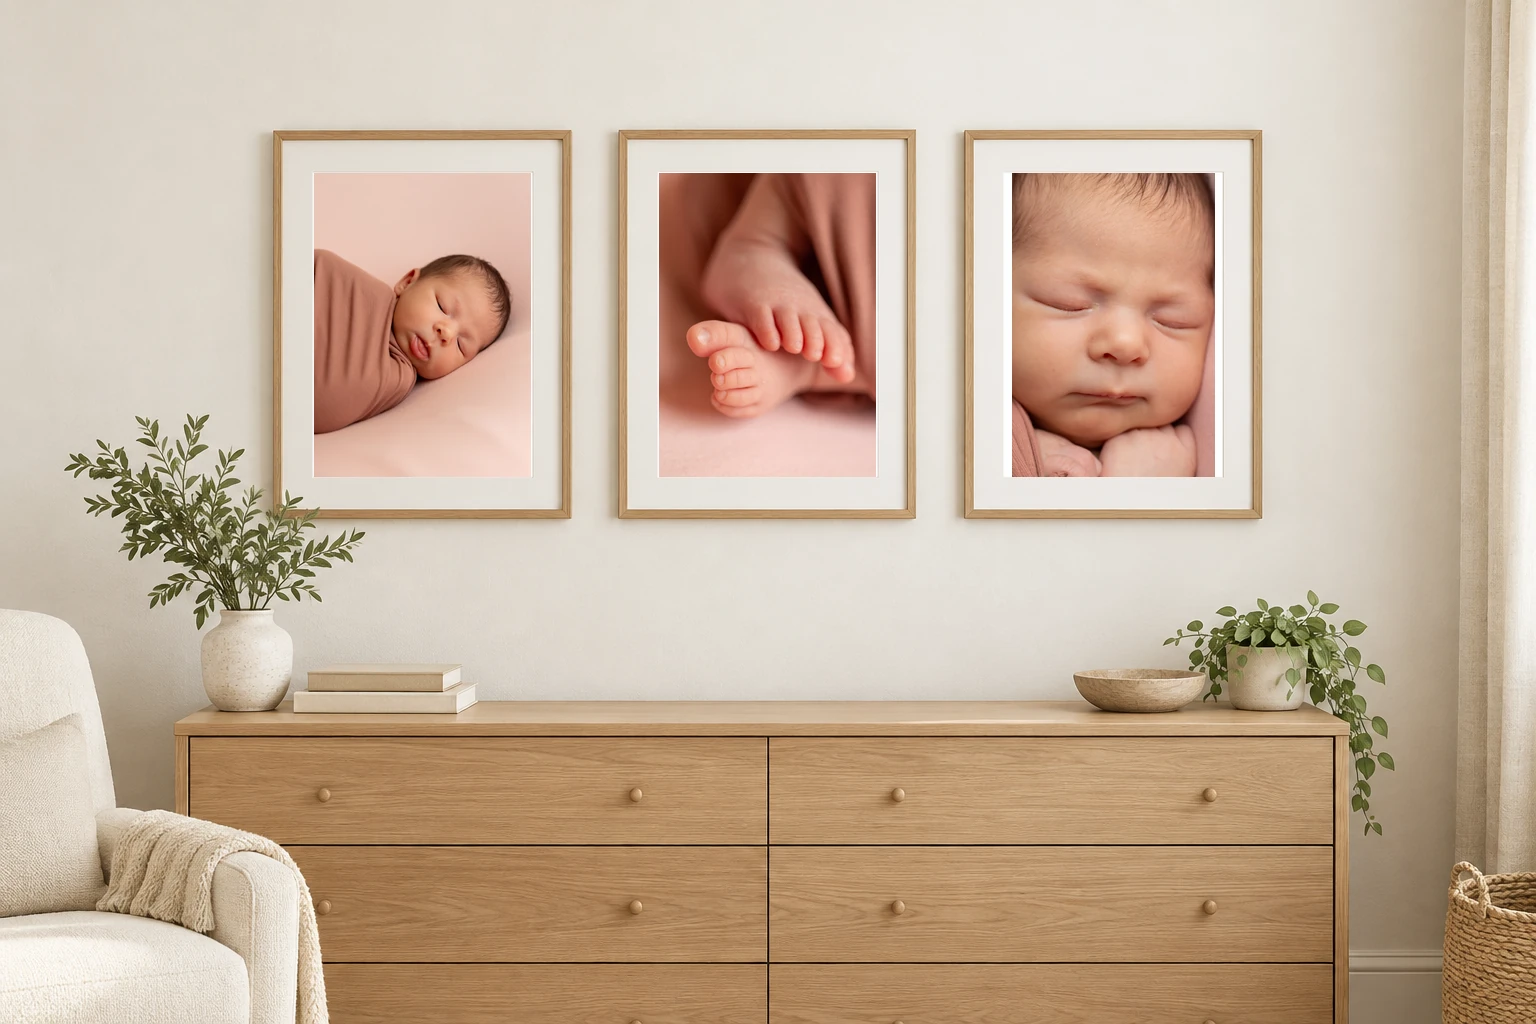
Plan the outside dimensions, not just the photograph
A 5 × 7-inch photograph can feel quite different once it has a mat and frame. In my standard framed range, that print uses an 8 × 10-inch nominal frame with a 1½-inch mat border. The moulding adds to the outside measurements. Three separate nominal 8 × 10-inch frames, each with its 8-inch side across and 3-inch gaps, already span 30 inches before the moulding is included. Confirm the finished outside dimensions before marking out the arrangement.
Try paper templates at the complete framed size, including the gaps. Look at them from the doorway and from your reading chair. A small print can be lovely when viewed close up; a piece across the room needs more presence. The size comparisons elsewhere in this guide help you judge the difference without committing to an order.
Choose the finish around the photograph and room
A framed Photo Rag print gives you a mat and frame around a detailed newborn portrait. Canvas has a textured, wrapped presentation; metal has a smooth surface and floating display. Compare the portrait print finishes and standard framed sizes before choosing. Matching frames can connect a collection, but the illustration above does not specify a frame profile, mat opening or size that is automatically included with a purchase.
For placement, keep artwork and other wall décor away from your baby’s crib, following the Public Health Agency of Canada’s nursery guidance. Choose another suitable wall and follow the mounting instructions for the finished artwork. The room illustrations here do not show or recommend a crib installation.
Turn favourites into a print order
- Save a shortlist in your private client gallery. Include a wider portrait, a close-up and a detail if you want a collection.
- Measure the wall and any furniture beneath it. Note whether those measurements include space for the mat, frame and gaps.
- Choose a finish and review the crop. Some print proportions show less of the original photograph; ask me to check important details before ordering.
- Order the available individual prints through your gallery. For a custom arrangement or frame, ask me to confirm the design and quote first.
Tell me the filenames of your favourites, your wall measurements and whether you want one piece or a collection. I can help you compare the choices before you order. If your baby has not arrived yet, see Winnipeg newborn session details and real newborn sessions. These are session photographs ordered through your gallery; for original nature artwork, use the separate landscape buying guide.
Several moments, one frame
A mat with multiple openings brings a small collection together inside one frame. For a newborn session, try a family portrait, a sleeping-baby photograph and a tiny detail such as their feet. Each moment adds something to the story.
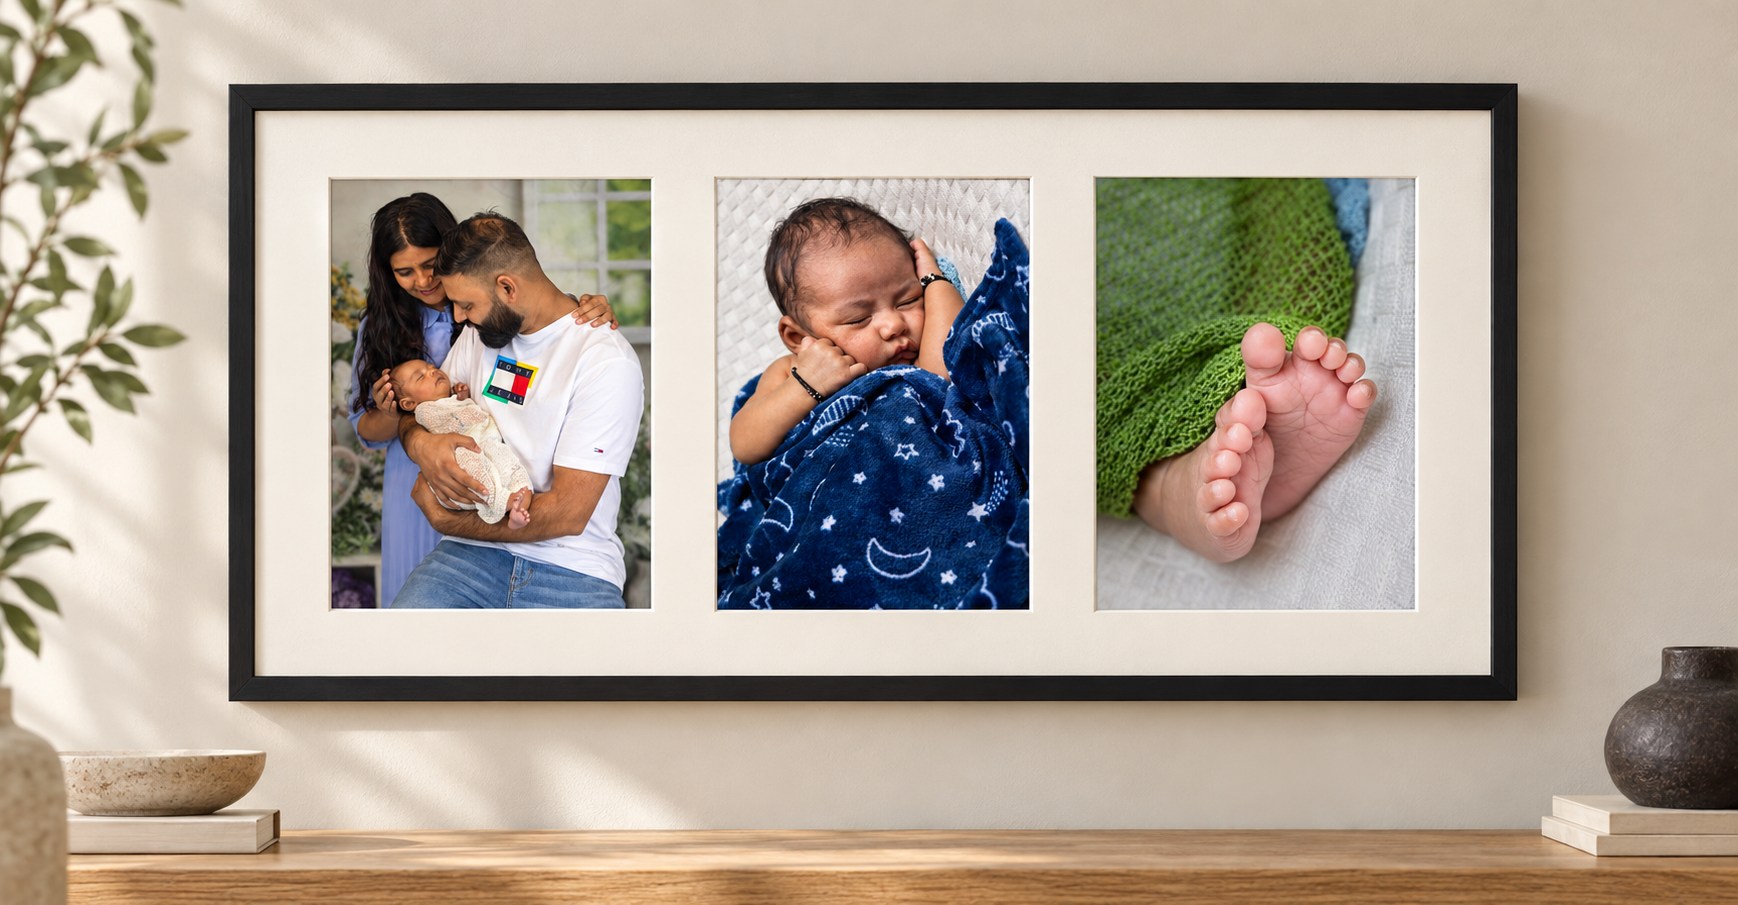
Three 5 × 7 prints, one frame
Three portrait photographs side by side make a compact story for a hallway, bedroom or space above a console. A consistent mat gives each photograph room to breathe.
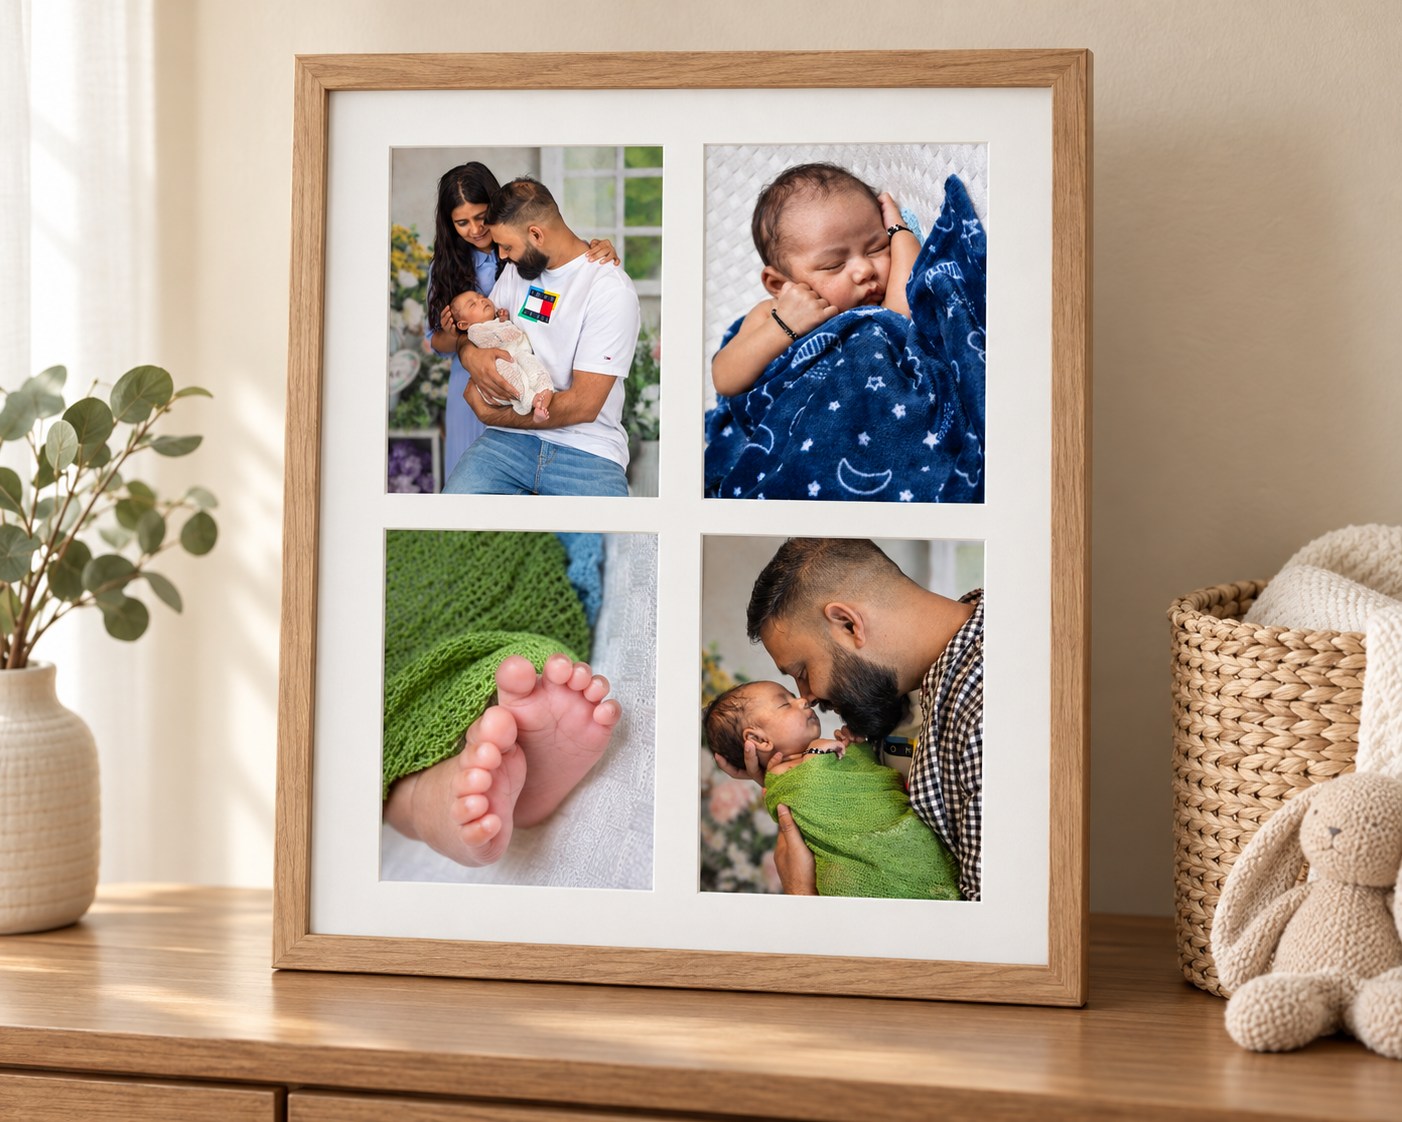
A four-opening collection
A two-by-two arrangement adds a fourth favourite and gives the collection a taller shape. This example combines four 5 × 7 prints in one frame.
Choose a ready-made frame with openings sized for your prints, or ask about a custom mat and frame. The visible openings normally overlap the print edges slightly, so we can check the crop together before printing.
Place the photograph where you’ll enjoy it
Start with the way you use the room. A hallway photograph is often seen standing up; a living-room photograph is enjoyed while seated. Choose a location you pass or spend time in, and let the photograph relate to the furniture and the people in the room.
- On an open wall: try the centre of the photograph or whole arrangement around 57 inches from the floor as a starting point. Adjust for your eye level and the room.
- Above a sofa, console or headboard: centre the arrangement over the furniture rather than automatically over the whole wall. A gap of roughly 7–10 inches above the furniture is a useful starting point; check that the placement is comfortable and practical.
- Think about the whole display: a collection around two-thirds the width of the furniture can feel balanced. A single 8 × 10 may be lovely on a shelf, while a larger photograph or a group will have more presence above a sofa.
- Check the light: look at the spot at different times of day. Avoid prolonged direct sunlight and damp areas, and consider reflections if you choose a glazed frame.
Tell the story with more than one print
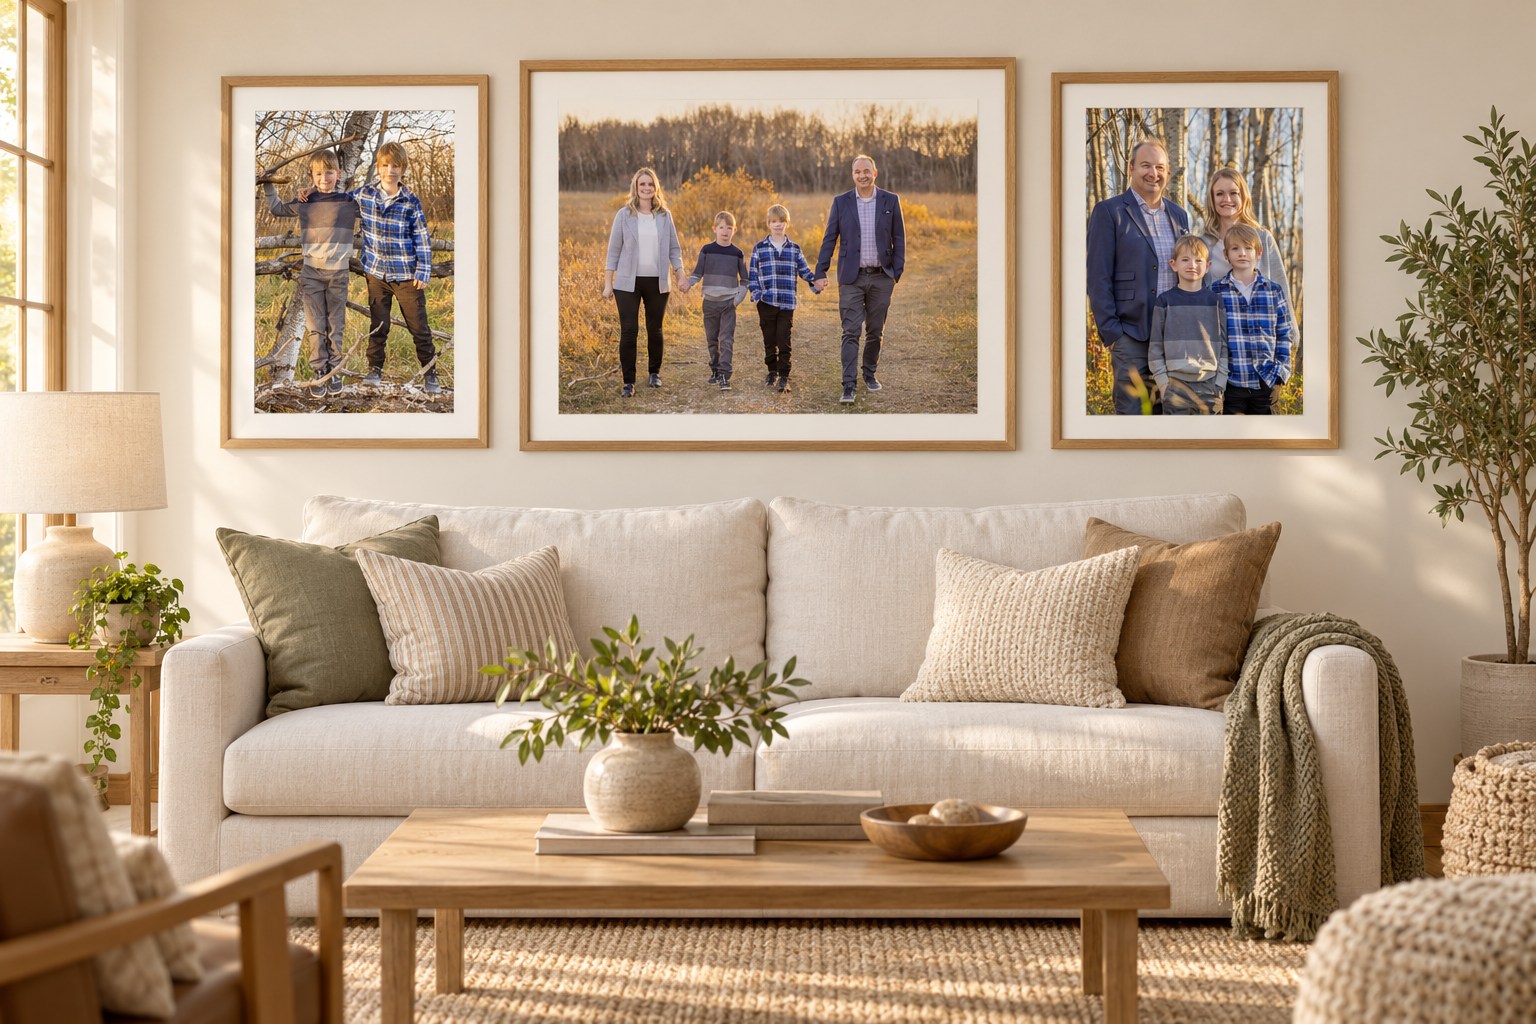
You don’t have to choose just one favourite. A pair can connect a family portrait with a candid moment; a trio can tell a small story from your session. A grid gives a larger set a calm, consistent rhythm. Mix wider scenes with close-up details, and leave enough space for each photograph to be enjoyed.
A pair
Two horizontal 16 × 20-inch prints with a 3-inch gap span 43 inches before any framing. Try two complementary moments or one portrait of each child.
A trio
Three horizontal 11 × 14-inch prints with two 3-inch gaps span 48 inches before any framing—two-thirds the width of a 72-inch sofa.
A four-print grid
Four horizontal 11 × 14-inch prints in two rows, with 3-inch gaps, occupy 31 × 25 inches before framing. Matching sizes and finishes make the collection easy to read.
Build around a favourite
Start with one larger photograph and add smaller supporting moments. Arrange paper templates on the wall first, using the outside dimensions of the finished pieces.
These are layout examples, not product bundles. Add each print separately in your gallery store. Keep the gaps consistent and include the mat and frame in every measurement. I can help you select photographs that work together and check the layout before you order.
Try the size on your own wall
- Choose the spot. Think about where you’ll see the photograph most often and how far away you’ll usually be.
- Mark the dimensions. Cut paper to the print size or use wall-safe painter’s tape. Step back and look from your usual viewing position.
- Allow for the finish. For a framed paper print, leave extra room for the mat and frame. Canvas and metal have a different finished appearance.
- Choose your photograph. Save favourites in your client gallery, then open the store to select your size and finish.
Quick measurements
| Print size | Approximate centimetres |
|---|---|
| 5 × 7 inches | 12.7 × 17.8 cm |
| 8 × 10 inches | 20.3 × 25.4 cm |
| 11 × 14 inches | 27.9 × 35.6 cm |
| 16 × 20 inches | 40.6 × 50.8 cm |
| 20 × 24 inches | 50.8 × 61.0 cm |
Turn these measurements around for a horizontal photograph. Available sizes depend on the product and are listed in your gallery store.
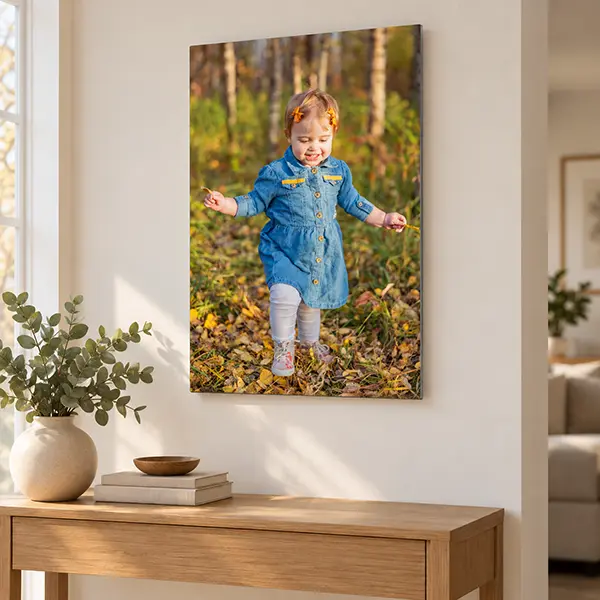
Choose the finish and plan the timing
Fine Art Photo Rag Prints are printed on substantial, 100% cotton fine-art paper with a subtle soft-gloss finish. Canon pigment inks bring out the colour and detail in your photographs. I personally check the crop and colour, inspect each finished print and apply a UV-protective spray before it leaves the studio. You’re ordering from the photographer who created your images, with help choosing a size and presentation you’ll enjoy every day.
Photo Rag paper prints give you flexibility to choose a mat and frame. Canvas has a wrapped, ready-to-hang presentation. Matte metal gives the image a smooth, modern finish with a floating wall display. The product mockups in your gallery store show examples of each finish.
Unframed Photo Rag prints up to 11 × 14 inches are produced in studio and are usually ready for pickup within 24 hours of the order being finalized. This is a usual turnaround, rather than a guaranteed deadline. Larger prints, canvas, metal and any custom framing need additional production time; contact me for the current estimate before ordering.
If you need your photographs for a gift, celebration or a particular date, let me know first. We can confirm the finish, production timing and pickup or shipping arrangements together. Shipping time is separate from production time.
A note about cropping
Your photograph and your chosen print may have different proportions. An 8 × 10 and an 11 × 14, for example, can show slightly different amounts of the same image. The examples above illustrate that difference. Check the crop preview when it is available, and contact me if you’re unsure about keeping an important detail in the print.
Need a hand choosing?
I’m here to help you turn your session into photographs you enjoy living with. Send me the filenames of your favourites, the wall or furniture measurements and, if you’d like, a photograph of the space. Tell me whether you’re imagining a single piece, a pair or a collection, and we can work through the sizes, finish, matting and layout together before you order.
Ask Jason for help choosing a print
Return to client galleries